
Hi. I entered a Master Crafter contest at Pink Cricut (now called Sarah Hamer Designs). It cost $10 to enter. Sarah sent us each the exact same box. It contained the items below:

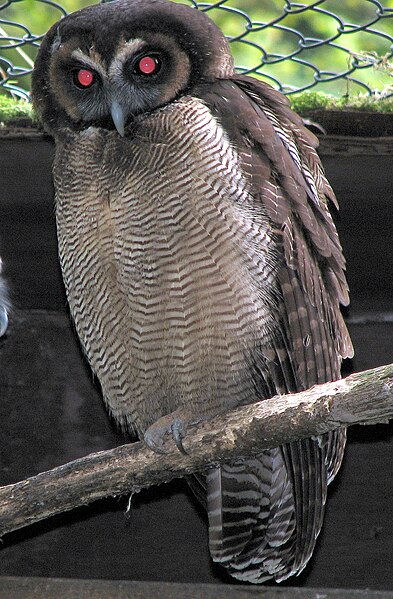
What a challenge! While showing my son the supplies I had to use, we decided I should make an owl. Yes - the colors I chose out of the stack reminded him of an owl, so an owl it was! I searched online for some good owl images, and settled on this one (Brown Wood Owl from Wikipedia). Don'cha love his red eyes?
Ok, so I cut the paper into strips and then cut the strips into smaller pieces, using the Scissor Mouse. I really enjoyed this cutting device. It worked directly on my desk, with no type of protection needed. It cut every type of paper I tried. It was very easy to use and very comfortable as well. I recommend it!
Next, I cut the strips of paper into many feather shapes. I also cut some v-shaped strips for the chest. I cut 3 pieces of paper into wings and a tail. I used the bag for the body. I cut a small card in the shape of the owl's head and then a heart for the eye area. I punched circles for around his eyes. I added red bling for the eyes.
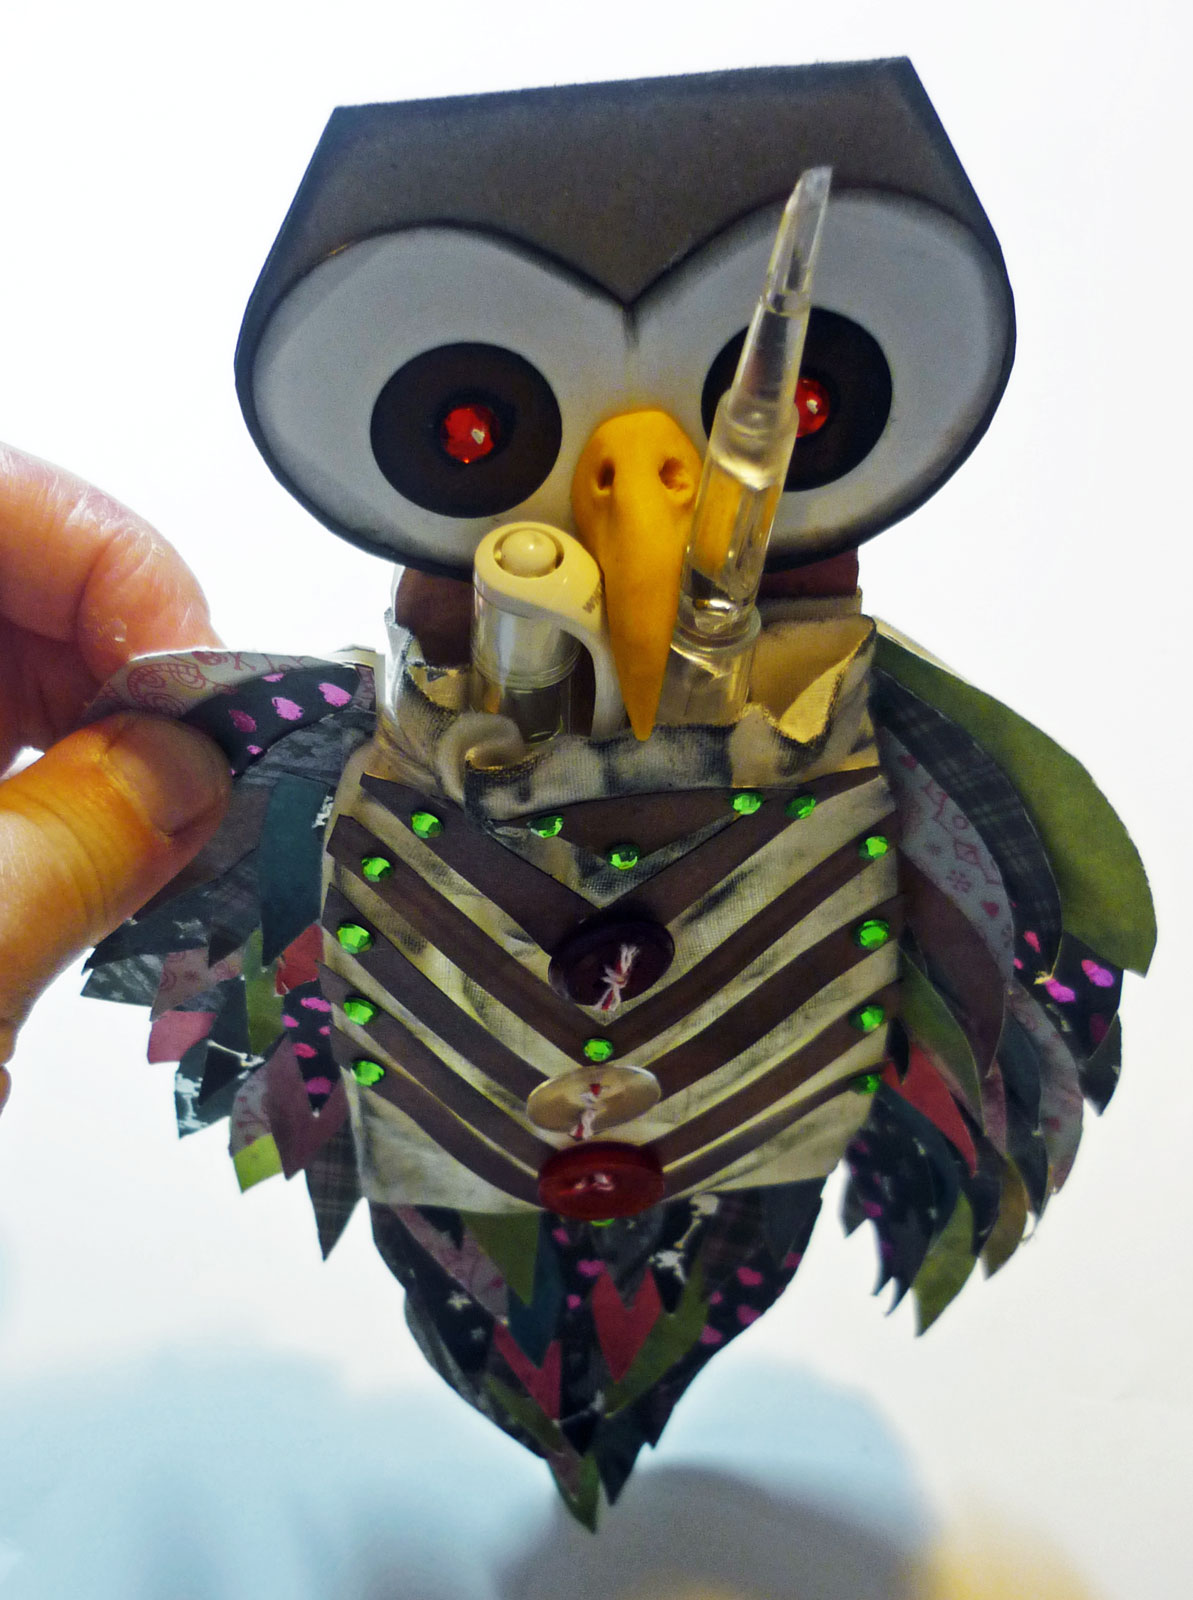
I individually glued down each feather in a pattern that pleased me for both wings and the tail. I made a beak from Sculpey II, after trying a bunch of things with paper. I glued the v-shaped strips to the bag and I inked the bag and around some of the paper areas. I used Scor-Tape to attach the wings and the tail to the body (bag). I lined the back of the wings and tail, too.
I stamped "faith" into the card (head). I wrote "for" before "faith". Then I wrote what you will see below. I have a dear friend named Faith, and I'm going to give his to her filled with candy for Halloween. I figure a red-eyed owl kind of fits, right? I attached a circle, that I attached to another circle with foam dots, to the back of the small card (head). This way, the head will fit onto the body. I finished the eyes and attached the beak and - ta da! I was all done. (Ok - it wasn't really ta-da... it took me a lot longer than I thought it would. Lots of doing, redoing, checking the photo, planning and doing again).
I took photos to show that the bag still works and will be a great gift bag. I know it doesn't look like the photo above, but I think it looks a lot like an owl. This was a fun contest and I'm really glad I played along! Here are the photos:

 |
| Inside of head |
 |
| How the head attaches |

I hoped you liked him! If you'd like to vote for me, please go to http://www.pinkcricut.com/2012/10/master-crafter/ Thanks for looking.
WOW- this is so clever, and turned out so awesome!
ReplyDeleteOh my - this is awesome!!! Love it!!!!
ReplyDeleteVery unique, great job.
ReplyDeleteWow....love this!
ReplyDeleteVery creative, and a gift bag that's a keeper.
ReplyDeleteThis is gorgeous. Very creative and wonderfully unique!
ReplyDelete:O)
Jessica S
This is amazing!!! You've got my vote!
ReplyDeleteloving the colorful wings for the owl.
ReplyDeleteYour project is awesome! So much detail and layer - great job!
ReplyDeleteI admit that the picture of the real owl scared me, but yours is so clever and cute!
ReplyDeleteVery creative. I love the colorful wings, good use of the paper
ReplyDeleteThanks for participating in the Master Crafter Challenge! A link to your project will be in the State Line Bag photo album on Facebook.
ReplyDeleteMaster Crafter Projects